


Photo by Joyce McCown on Unsplash
ListView is basically a list of items. Users can scroll vertically or horizontally to see more items when the list is big enough to not fit on screen.
This article covers the basics of 4 types of ListView in Flutter. I know you have less time so let’s get straight to the points.
First thing first…
This type of ListView is used widely in app development as it offers most of the things.
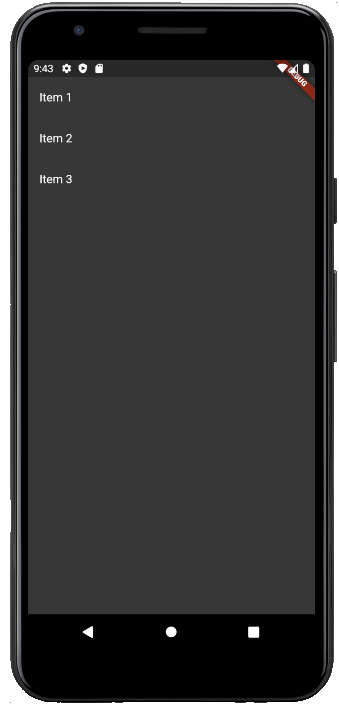
The basic code looks like this
ListView(
  children: <Widget>[
    ListTile(
      title: Text('Item 1'),
    ),
    ListTile(
      title: Text('Item 2'),
    ),
    ListTile(
      title: Text('Item 3'),
    ),
  ],
)
final items = ['Item 1','Item 2','Item 3','Item 4','Item 5','Item 6','Item 7','Item 8','Item 9',];
ListView.builder(
  itemCount: items.length,
  itemBuilder: (context, index) {
    return ListTile(
      title: Text(items[index]),
    );
  },
)
ListView.builder is a special constructor that takes itemCount and based on that it creates widget inside itemBuilder which has access to the current item index.

TIP: Just remove the itemCount parameter and you are done.
ListView.builder(
  itemBuilder: (context, index) {
    return ListTile(
      title: Text('Item $index'),
    );
  },
)
An AnimatedList is a List that animates the item when inserted or removed.
It looks like this…
AnimatedList(
  itemBuilder: (context, index, animation) {
    return slideIt(context, index, animation);
  },
)

Step ➊: Prepare variables
/// Will used to access the Animated list
final GlobalKey<AnimatedListState> listKey = GlobalKey<AnimatedListState>();
/// This holds the items
List<int> _items = [];
/// This holds the item count
int counter = 0;
Step ➋: Deploy the AnimatedList.
AnimatedList(
  key: listKey,
  initialItemCount: _items.length,
  itemBuilder: (context, index, animation) {
    return slideIt(context, index, animation); // Refer step 3
  },
)
Step ➌: Write a widget to display as Items in a list.
Widget slideIt(BuildContext context, int index, animation) {
  int item = _items[index];
  TextStyle textStyle = Theme.of(context).textTheme.headline4;
  return SlideTransition(
    position: Tween<Offset>(
      begin: const Offset(-1, 0),
      end: Offset(0, 0),
    ).animate(animation),
    child: SizedBox( // Actual widget to display
      height: 128.0,
      child: Card(
        color: Colors.primaries[item % Colors.primaries.length],
        child: Center(
          child: Text('Item $item', style: textStyle),
        ),
      ),
    ),
  );
}
Step ➍: Insert the Item.
listKey.currentState.insertItem(0,
    duration: const Duration(milliseconds: 500));
_items = []
  ..add(counter++)
  ..addAll(_items);
For this example, we are adding any new item to the first index.
Step ➎: Remove the Item.
listKey.currentState.removeItem(
    0, (_, animation) => slideIt(context, 0, animation),
    duration: const Duration(milliseconds: 500));
_items.removeAt(0);
As you can see in the above GIF, The items in ListWheelScrollview are placed like these numbers on the wheel. It gives the then effect of items are actually rotating on a wheel.
Minimal code looks like this…
ListWheelScrollView(
  itemExtent: 75,
  children: items,
)
now just create items
final items = [
  ListTile(
title: Text('Item 1'),
),
  ListTile(
  title: Text('Item 2'),
),
  ListTile(
    title: Text('Item 3'),
  ),
];
And you are done.

It’s a ListView which allows us to reorder the items by drag and drop.
ReorderableListView(
  children: List.generate(items.length, (index) {
    return ListTile(
      key: ValueKey("value$index"),
      title: Text('Item $index'),
    );
  }),
  onReorder: (int oldIndex, int newIndex) {
    setState(() {
      _updateMyItems(oldIndex, newIndex);
    });
  },
)
onReorder will be called whenever the user successfully drags and drop the item at the new location.
_updateMyItems is simply swapping the item in the variable which is used to get data like this…
void _updateMyItems(int oldIndex, int newIndex) {
  if (newIndex > oldIndex) {
    newIndex -= 1;
  }
  final String item = items.removeAt(oldIndex);
  items.insert(newIndex, item);
}
Thanks for reading. If you found this article to be helpful please share it with your friends.
Please take a moment to read this blog post on “Implementing Authentication and Navigation in Flutter Web with go_router.